
Most Oakville homeowners wait for the first cold snap, then notice a draft at the living room window or frost forming on the inside of the glass. By then the damage that matters is already done. Window seals stiffen, caulk pulls away from the frame, and moisture gets into gaps that were barely visible in September. Preparing before the cold arrives is the cheapest way to keep heat inside and avoid spring repairs. This guide covers what we check on every job, what to fix first, and where a window cleaning Oakville visit fits into your winter plan.
Table of Contents
- Quick Takeaways
- Why Cold Weather Exposes Window Seals
- Clean Frames and Sills Before Sealing
- Caulking Exterior Window Gaps
- Weather Stripping and Sash Seals
- Storm Film and Storm Windows
- Comparing Winter Sealing Options
- Clearing Gutters and Outdoor Water
- Common Mistakes That Undo Winter Prep
- Frequently Asked Questions
- References
Quick Takeaways
| Key Insight | Explanation |
|---|---|
| Clean the frame and sill before any sealant goes on | Dust and grime stop caulk and weather stripping from bonding, so wipe the seam with a damp cloth and let it dry first. |
| Caulk exterior gaps between frame and siding | Exterior caulk is the most cost-effective fix for drafts. Let it dry and cure overnight before the next wet weather. |
| Test every sash lock | A sash that does not close fully can leak air even with good seals. Clearing the tracks and closing each lock can improve the seal right away. |
| Replace worn weather stripping | Cracked, flattened, or missing strips let heat escape. Replacements are sold at most hardware and home improvement stores. |
| Add UV-resistant film to drafty glass | Film on single or double-pane units cuts drafts and reduces condensation on cold glass during heating season. |
| Clear gutters before the first hard freeze | Overflowing water runs down siding and soaks sealant lines near the sills, which is how small gaps turn into leaks. |
| Keep pressure washing away from window seals | A high-pressure stream aimed at a joint can force water past the sealant. Use a low angle and lower pressure near windows. |
Why Cold Weather Exposes Window Seals
Windows are usually the first place cold air gets into a house. Woodgrain’s winter preparation guide makes the point that drafts are the main reason to address windows before cold weather sets in, and that applies even to good-quality units. Seals and caulk age through summer sun and daily temperature swings, so a gap that was tight in August can open up by October.
Condensation is the other warning sign. Woodgrain notes that water vapor can condense on cold surfaces, especially where indoor heating keeps the air dry and the glass stays cold. In practice, condensation that collects in one corner of a window, or frost that forms on the inside of the glass, usually points to a leak or a weak seal rather than a humidity problem alone.
Most winter window problems start as a gap you could have slid a business card into back in September.
Spotting a Failing Seal Before Frost Does
Run a hand slowly around the perimeter of each window on a windy day. Cold air you can feel is leaking through, and the spot where you feel it tells you whether the problem is the sash, the frame, or the seal between them. Note any whistle or flutter too, because those sounds often reveal a gap that caulk or weather stripping can fix.
Fog or moisture trapped between the two panes of a double-glazed unit is a different problem. That usually means the sealed unit has failed, and no amount of cleaning or caulk will restore the insulating gas or the seal. Treat it as a replacement issue and get it measured before the cold sets in.
Clean Frames and Sills Before Sealing
Every sealing job we do starts with cleaning, and skipping this step is the most common reason winter fixes fail within a season. Dust, pollen, and grime on the frame prevent caulk and weather stripping from adhering properly. A product that looks sealed on day one can peel away after the first freeze if it was applied over a dirty surface.
Wiping Down the Caulk Line
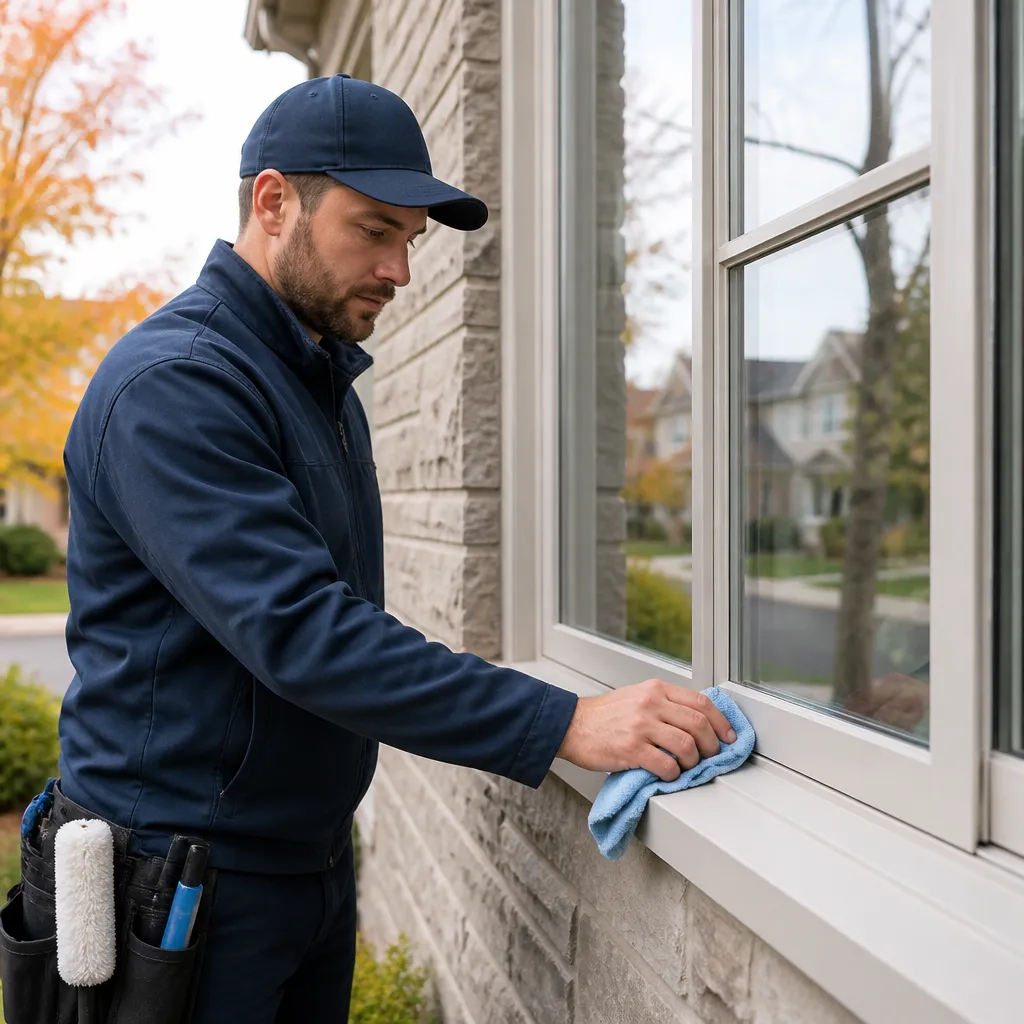
Woodgrain recommends wiping the area around the window with a damp cloth to remove dust and grime before caulking, which also keeps the sealant from smearing onto the siding. We follow the same approach, then give the seam time to dry completely. Wet surfaces and caulk do not mix, so a dry day with a clear forecast is the right window for this work.
Pro tip: Wipe the frame edge with a damp cloth first, then do a second pass with a dry cloth. Any moisture left behind can cloud the surface and weaken the bond.
Clearing Sash Tracks and Sills
Dirty sash tracks are a quiet cause of drafts. Grit and dead insects build up in the channel, and the sash no longer sits flush against the weather stripping. Windowworld’s winter guidance points out that cleaning the sash tracks and making sure each window is closed and locked can sometimes improve the seal instantly, so this is one of the cheapest fixes on the list.
Vacuum the tracks, brush out the corners, and remove any spider webs or nests that have settled into the sill. Materials from the frame are also worth checking. ENERGY STAR notes that vinyl and fiberglass frames offer good thermal insulation, while aluminum frames rely on thermal breaks to reduce heat loss through the metal. If a frame is cracked or the wood is soft, patch it before you seal it, because caulk will not hold on a crumbling surface.
Caulking Exterior Window Gaps
Caulking is the most widely used and cost-effective way to stop winter drafts, and it is also the one most often done badly. The goal is a continuous bead that stays flexible through freeze and thaw cycles. A bead that is too thick, applied in cold weather, or laid over old cracked sealant will fail quickly.
Where Exterior Caulk Belongs
Woodgrain’s guidance is to apply caulk between the window frame and the siding. This is the seam where most exterior air leaks happen, and it is also where water tries to get behind the trim. Check the corners and the top of the frame first, because those spots take the most wind-driven rain and show the first signs of gaps.
Interior gaps need a different approach. Interior sealants and low-expansion foam are designed for indoor conditions, so read the label before you buy. Using exterior caulk inside a room can create odors and does not always stay flexible in dry indoor air.
Application, Cure Time, and Drainage Openings
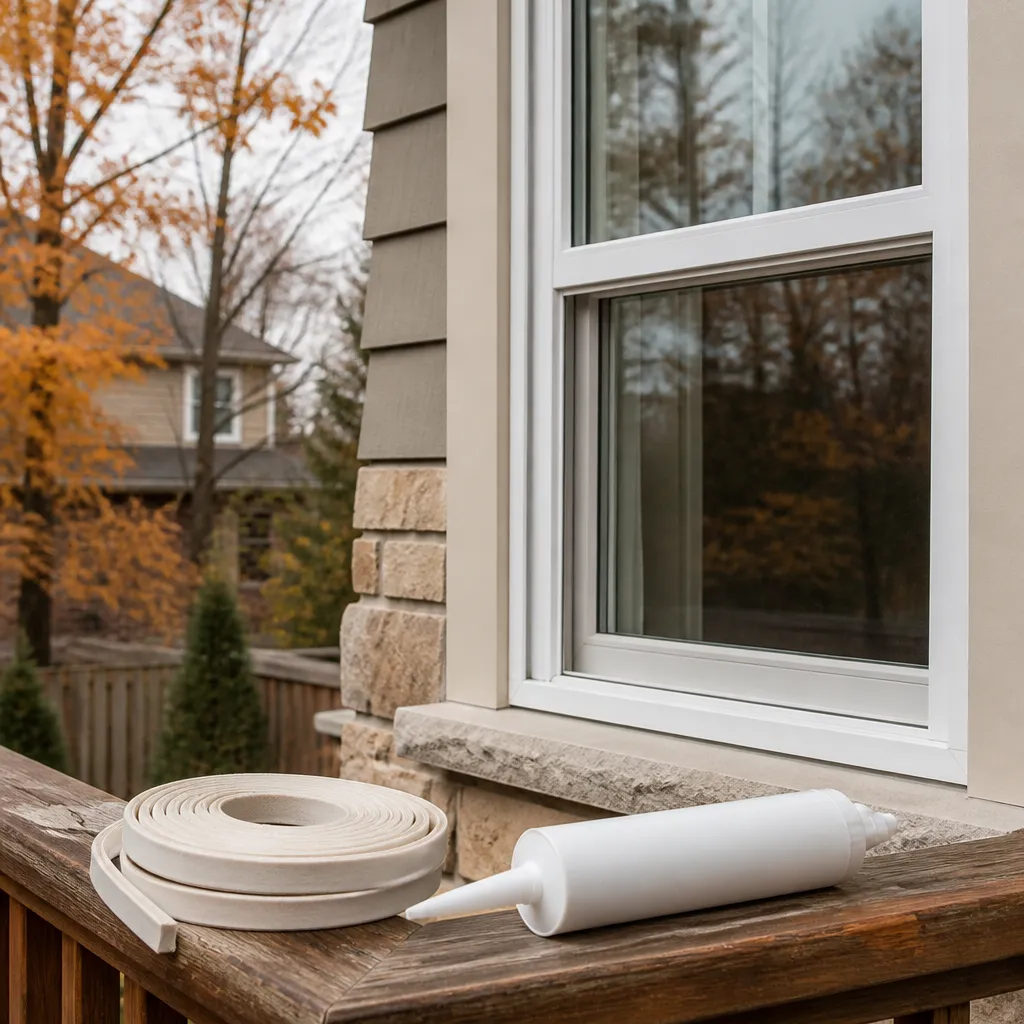
Cut the nozzle small so you can control the bead, and press the sealant into the gap rather than just laying it on top. Smooth it while it is still workable, then let it dry and cure overnight as Woodgrain suggests before exposing it to moisture. Check the product label for its minimum application temperature, because a bead laid too cold may never cure properly.
Old caulk that has cracked or pulled away should be cut out before you add new sealant. Painting over it or laying a fresh layer on top traps the old failure underneath. Also leave drainage openings and weep holes in the frame or trim clear. Blocking them can trap water inside the wall, which is a more expensive problem than a draft.
Pro tip: Caulk the outside seams on a day when the siding is dry and the temperature is comfortable for working. Sealant applied in ideal conditions bonds far better than sealant rushed in before a cold night.
Weather Stripping and Sash Seals
Weather stripping is the part of the window that does the most daily work, and it is also the part most people forget about. Woodgrain describes weather stripping as a rubber or plastic strip that fits between the window or door frame and can be removed and replaced when it wears out. It keeps heat inside during cold months and keeps cool air from escaping during warm months, so it earns its place year-round.

Testing Worn Weather Stripping
Use a simple paper test. Close the sash on a sheet of paper and try to pull it out. If it slides free with no resistance, the seal along that edge is too weak to stop a draft. Run the test at several points around the sash, since wear is often uneven and the bottom rail and the lock side take the most abuse.
Look for strips that are flattened, cracked, torn, or pulling out of their channel. A strip that has lost its springiness will not press back against the frame, and no amount of adjusting the lock will fix that. Replace it.
Choosing Replacement Strips
Measure the channel depth and width before you buy, and bring the old strip to the store if you can. Matching the profile matters more than the brand. A strip that is too thick will keep the sash from closing, and one that is too thin will leave a gap at the lock.
Cut replacements a little long and trim them after installation, rather than stretching them to fit. A stretched strip loses its tension quickly, and that is the first thing a winter draft finds.
Storm Film and Storm Windows
When the frame and seals are sound but the glass still feels cold, the next step is adding a layer to the glass. Woodgrain describes window film as a thin sheet of plastic, usually applied to the inside of the window, that helps keep cold air out and heat in. It can be applied to single-pane or double-pane windows, and the same guide recommends choosing UV-resistant film so it does not degrade in direct sunlight.
Film for Drafty Single-Pane Glass
Single-pane windows benefit the most from film because the glass itself offers little insulation. Clean the glass thoroughly first, because any dust trapped under the film shows up as a permanent smudge. Apply the film on a dry, mild day, and work from the center outward to push out air bubbles.
Film is a temporary solution. It is designed to be replaced each season, and it slightly reduces the clarity of the view. For many Oakville homes it is a sensible winter measure rather than a permanent upgrade, especially on older rooms that feel drafty even after sealing.
Storm Windows for Condensation Problems
Woodgrain’s guide argues that installing storm windows is more costly than buying film for a pair of panes, but that storm windows can give better results over time because they handle temperature extremes more reliably. That trade-off makes sense for rooms where condensation runs down the glass every morning, or where the heating system runs hard and the window still feels cold.
The key is matching the storm window to the existing frame so it sits square and seals along all four edges. A storm window that rattles or leaves a gap at the top will leak air just like an old window does.
Pro tip: Before you add film or storm windows, confirm the existing seals and caulk are in good shape. Adding a layer over a leaking frame only hides the draft and can trap moisture between the layers.
Comparing Winter Sealing Options
Each option solves a different problem, and choosing the wrong one wastes time and money. The table below compares the three approaches we recommend most often for Oakville homes, along with the main trade-off for each.
| Approach | Best For | Main Trade-off |
|---|---|---|
| Exterior caulk along the frame and siding | Gaps between the window frame and the outside wall that let in wind and water | Requires dry weather and an overnight cure, and old failed bead must be removed first |
| Replacement weather stripping | Sashes that no longer close snugly or leak air along the edges | The profile must match the channel, and fitting can be fiddly on older units |
| UV-resistant window film | Drafty single-pane or double-pane glass that feels cold to the touch | Temporary, slightly reduces clarity, and needs clean glass to apply well |
In practice, most drafty windows need two of these together. Caulk and weather stripping handle air leaks, while film handles cold glass. Starting with the seals and only adding film when the glass is still the problem gives you the most value for the effort.
Clearing Gutters and Outdoor Water
Winter window protection does not stop at the window. Gutters and downspouts control where water goes during fall rain and early snowmelt, and when they fail, that water often ends up right beside your windows. Overflowing eavestroughs run down the siding and soak the sealant lines at the sills. Once that water freezes, it pushes gaps wider and can lift trim.
Gutter Overflow and Sill Damage
Before the first hard freeze, clear the gutters of leaves and grit and check that the downspouts carry water well away from the foundation. A quick look after a rainstorm will show whether water is running over the edge in one spot, which usually means a clog or a sag in the gutter line. Fix that spot first, because it is the one that will soak the window sills.
If you cannot safely reach the gutters, have them cleaned by someone who can. Our eavestrough cleaning and window work are often scheduled together in the fall, because clearing the gutters first keeps fresh debris out of the window tracks and sills we are cleaning.
Pressure Washing Around Window Seals
Power washing is useful for siding, walkways, and decks before winter, but the spray should stay away from window seals and caulk. A narrow, high-pressure stream aimed at a joint can force water behind the sealant, and that water will freeze in the gap. Keep the wand angle low, use a wider spray pattern near windows, and back off on pressure around any joint that already shows cracks.
Common Mistakes That Undo Winter Prep
Most failed winter prep follows a few predictable patterns. The good news is that each one is easy to avoid once you know what to look for. The mistakes below come up on jobs more than any others.
Caulking Over Dirt and Old Sealant
Adding caulk directly over old, cracked sealant or a dusty frame is the most common shortcut, and it almost always fails by the next freeze. The new bead looks fine for a few weeks, then lifts at the edges where it never bonded. Cut out the old material, clean the surface, and only then apply fresh caulk.
Sealing Drainage Openings Shut
Homeowners sometimes caulk every gap they can see, including the small openings that let water drain out of the frame or trim. Blocking those openings traps water inside the wall, where it cannot dry out and where the damage stays hidden until the spring. Leave them open and seal only the seams around them.
Ignoring a Lock That Does Not Engage
A sash that does not pull tight against the frame cannot seal, no matter how good the weather stripping is. Check each lock and adjust the keeper if it has shifted. If the sash still sits loose, the problem is usually the frame or hardware, and that deserves a closer look before you spend money on sealant.
Frequently Asked Questions
When should Oakville homeowners start winter window prep?
Start in early fall, while the weather is still mild enough to work outdoors comfortably. Aim to finish before the first hard freeze, so caulk has time to cure and you are not working on cold, wet surfaces.
Can I caulk my windows myself?
Yes, exterior caulking is a practical DIY job if you clean the surface, remove any failed sealant, and work on a dry day. Interior gaps often call for a different product, so check the label before you start.
How do I know if a window seal has failed?
Fog or moisture between the panes of a double-glazed window means the sealed unit has failed. Cold drafts you can feel around the frame point to weather stripping or caulk, which are much easier and cheaper to fix.
Is window film worth it for winter?
It can be, especially on single-pane glass or rooms that stay cold even after sealing. Choose UV-resistant film, clean the glass well before applying it, and plan to replace it when it starts to lift or yellow.
Does professional window cleaning help with winter sealing?
It can. Cleaning removes the grime that prevents caulk and weather stripping from bonding, and a thorough service also clears sash tracks and sills. A cleaning visit is a good moment to spot cracked caulk or worn strips while the frame is accessible.
Should I clean gutters before winter if my windows are already sealed?
Yes. Overflowing gutters can send water down the siding and into the sealant lines around the windows, which undoes the work you did on the seals. Clearing them before the first freeze is one of the cheapest ways to protect that investment.
Tell us about the draft that stumped you or the sealing method that worked best in your Oakville home, because your experience helps us refine these steps for local conditions.
We would love your feedback and any insights you would share with others. What perspective would you add?
References
- Woodgrain guide to preparing windows for winter, covering caulking and weather stripping
- ENERGY STAR overview of window frame materials and performance criteria
- Window World tips on clearing sash tracks and locking windows for winter
- Winter window maintenance guide covering drafts, weatherstripping, and glass cleaning
- Winter window maintenance tips for preventing ice and snow buildup