You just had a professional window cleaning done, and the difference is stunning. Natural light pours in, the views look crisp, and the whole house feels more alive. Then two weeks later, the smudges are back. Bird droppings on the south-facing panes, pollen coating the frames, and a mysterious haze that seems to appear from nowhere. If you want to keep windows clean longer and get real value out of every professional service visit, a simple between-visit routine makes all the difference. This guide gives you exactly that: practical window cleaning tips that work between professional appointments, so you are not starting from scratch every time a crew arrives.
Table of Contents
- Quick Takeaways
- The Right Tools for Between-Visit Cleaning
- Your Weekly and Monthly Maintenance Routine
- How to Get Streak-Free Windows Every Time
- Tackling Hard Water Spots Before They Etch
- The Biggest Mistakes Homeowners Make
- DIY Cleaning Solutions Compared
- When to Stop DIY and Call a Professional
- Frequently Asked Questions
- References
Quick Takeaways
| Key Insight | Explanation |
|---|---|
| Always clean top to bottom | Water runs downward. Starting at the top stops dirty drips from landing on glass you have already cleaned. |
| Avoid direct sunlight when cleaning | Sunlight dries solution too fast, leaving streaks before you can wipe them away. Choose a cloudy day or early morning. |
| Microfiber beats paper towels every time | Paper towels leave lint and fibers behind. Microfiber cloths trap dirt and moisture without redistributing grime across the glass. |
| Address hard water spots within two weeks | Mineral deposits from tap water or sprinklers bond to glass over time. Catching them early means a simple vinegar solution works. Waiting means professional-grade intervention. |
| Keep frames and sills clean too | Dirty frames wash grime back onto glass during rain. Cleaning the full window unit extends how long the glass itself stays clear. |
| Use separate cloths for washing and drying | One cloth for applying solution, one cloth for drying. Mixing the two redistributes the dirt you just removed. |
| Two professional visits per year is the baseline | Most homes benefit from professional cleaning at least twice a year. Between-visit maintenance keeps that investment looking good as long as possible. |
The Right Tools for Between-Visit Cleaning
You do not need a truck full of equipment to maintain your windows between professional visits. A small kit of quality tools will outperform a cupboard full of cheap ones every single time.
Microfiber cloths are the foundation of any effective between-visit routine. Unlike paper towels or regular rags, microfiber traps dirt and moisture without leaving lint behind. Keep at least two on hand: one for applying solution, one for buffing dry. Never combine them during a single session.
A squeegee is optional for weekly touch-ups but worth having for any deeper clean. Professional exterior window cleaners rely on squeegees because they remove water evenly across the glass. Choose a squeegee with a rubber blade slightly narrower than your window panes for better edge control, and replace the rubber blade the moment it starts leaving streaks or develops any nicks.

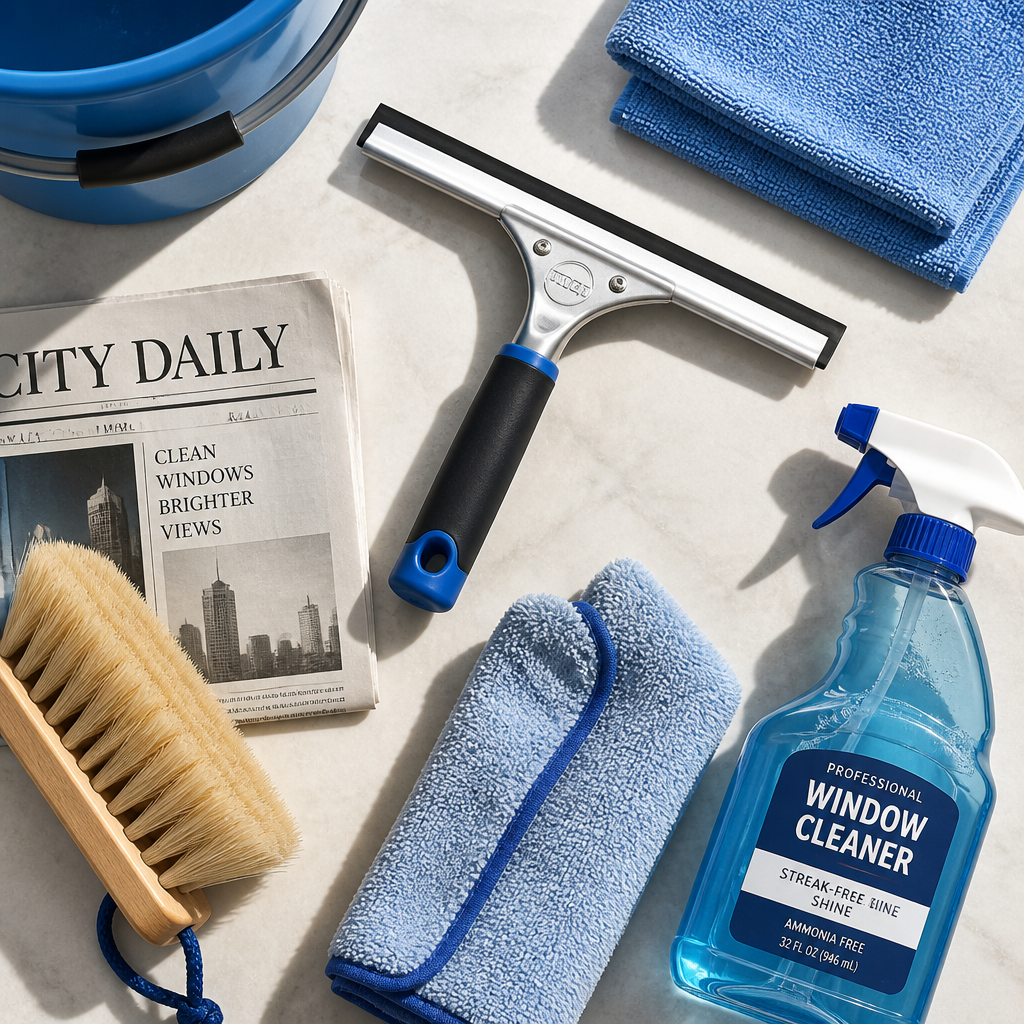
A spray bottle with a pre-mixed cleaning solution rounds out the kit. Having multiple bottles allows you to premix different solutions for various cleaning needs, one for daily touch-ups and another for deeper cleaning sessions. Label them clearly and store them out of direct sunlight so the solution stays effective.
Pro tip: Replace your microfiber cloths every few months. Cloths that have been washed with fabric softener lose their ability to trap particles and will smear rather than clean. Wash microfiber separately with a mild detergent and skip the softener entirely.
Your Weekly and Monthly Maintenance Routine
The goal between professional visits is not a deep clean. It is a light, consistent routine that stops grime from building up in the first place. Think of it like wiping down a stovetop after every use rather than scrubbing it down once a month.
The Weekly Five-Minute Check
Weekly cleaning maintains the sparkle between professional visits without requiring a major time investment. Start by removing dust and cobwebs from window corners and frames. Use a soft brush or dry microfiber cloth to clear away accumulation before any liquid is applied. This step alone prevents the gritty residue that turns a quick wipe-down into a full scrub session.
For high-traffic interior windows, like those near a kitchen or above a radiator, a quick spray and wipe with a diluted solution keeps fingerprints and grease from baking onto the glass.
The Monthly Deep-Clean Pass
Once a month, go beyond the glass. Clean the window sills and frames with a damp cloth, remove any insect debris or bird droppings immediately, and check the screens. The best way to clean window screens is to vacuum off dust and dirt with an upholstery brush attachment. For greasy kitchen screens, a sponge with hot water and mild detergent works well. Be gentle because screens bend more easily than they look.
Monthly attention to frames and sills is not cosmetic busywork. Dirty sills direct runoff straight back onto your glass every time it rains, which undoes any cleaning you have already done.
Pro tip: Set a recurring calendar reminder for your monthly window check. Tying it to another regular task, such as changing your furnace filter or testing smoke detectors, makes it far easier to stay consistent across seasons.
How to Get Streak-Free Windows Every Time
Streaks are the most common complaint in between-visit window cleaning, and they almost always come down to one of three things: the wrong tools, the wrong timing, or the wrong technique. Fix those three variables and streak-free windows become the predictable result, not the lucky one.
Timing Is More Important Than You Think
Cleaning in bright sunlight seems appealing, but it is actually counterproductive, as it results in irritating streaks and smudges. The solution dries faster than you can wipe, leaving a hazy residue. Early morning or overcast days are the best conditions for exterior windows.
For interior windows, close blinds or curtains on the sunny side while you clean the opposite side of the house. The principle is the same: you want the glass cool enough that your solution stays wet long enough to do its job.
The Top-Down, Zigzag Technique
Always clean windows from the top down. Water naturally runs downward, so starting at the top prevents drips from landing on areas you have already cleaned. Work in sections, keep an eye on any runoff along the frame edges, and overlap your strokes slightly.
When using a squeegee, finish each pass by wiping the blade clean with a dry cloth before starting the next stroke. This one habit eliminates at least half of the streak problems most people experience.
The clearest windows come from the most boring routines. Consistent light maintenance beats occasional heroic scrubbing every time.
The Drying Step People Skip
If you find that you still have window streaks after cleaning, rinse your window with water and dry it a second time. A second-pass dry with a clean, dry microfiber cloth removes any residual solution before it dries into a haze. Most people quit after the first wipe, which is exactly where streaks originate.
Tackling Hard Water Spots Before They Etch
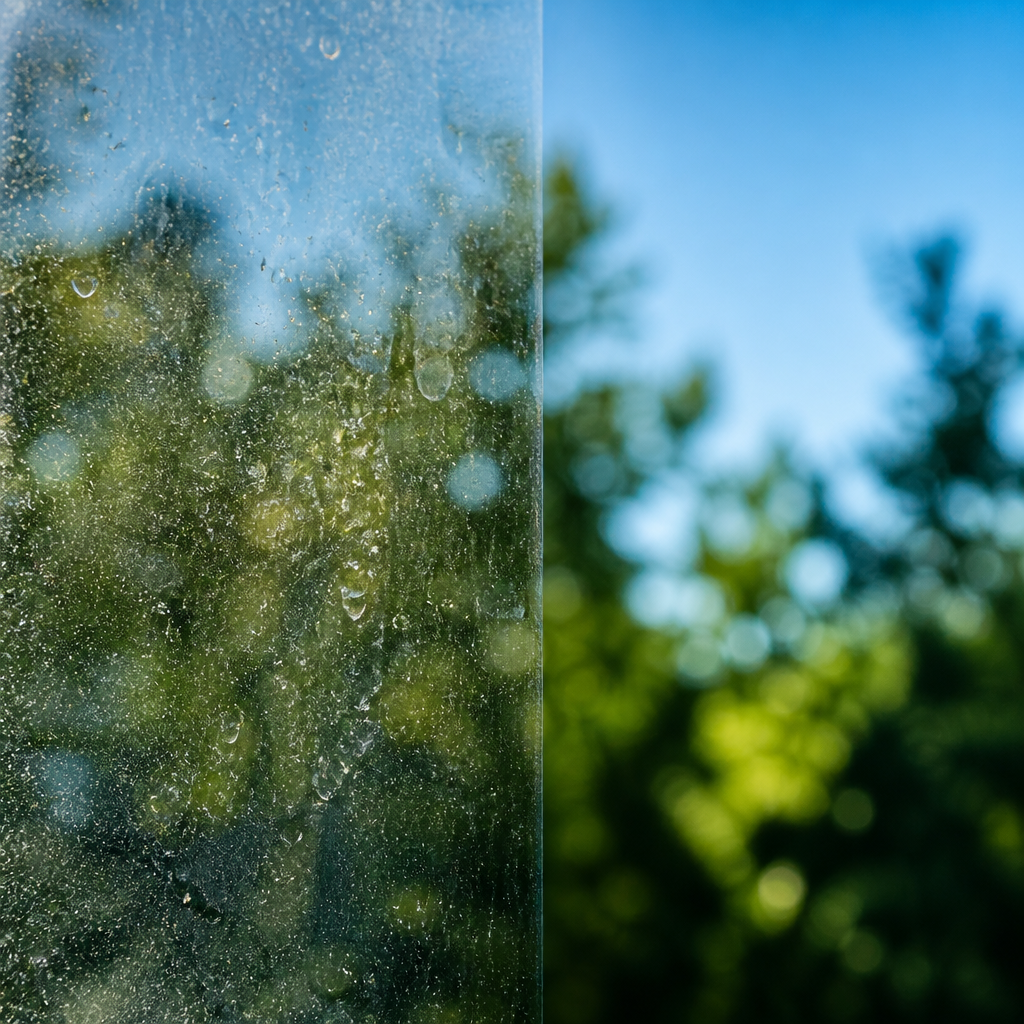
Hard water spots are one of the most misunderstood window problems homeowners face. They look like cloudy or white circular marks, and they are not just dirty glass. Hard water stains are caused by minerals such as calcium and magnesium in tap water. When water evaporates from your windows, these minerals are left behind, forming unsightly spots and white streaks.
Environmental factors can worsen the issue, including sprinkler systems spraying onto windows, rainwater containing pollutants, and improper cleaning techniques. If your irrigation system touches your windows at all, redirecting the spray heads is one of the highest-value preventive steps you can take.
The Early-Stage Solution
Catch hard water spots early and a simple home remedy works well. Mix equal parts white distilled vinegar and water in a spray bottle, and apply it to the hard water spot with a sponge. Leave it for five to ten minutes before wiping it away with a clean cloth, and rinse the vinegar off completely so that it does not damage your window.
To maintain the appearance of your windows, wash them once every two weeks or as soon as you notice spots. If you observe spots forming more rapidly, you may need to clean more often.
When Spots Have Set In
If mineral deposits etch into the glass, the damage can become permanent without professional restoration. Vinegar cannot reverse etching, only surface deposits. If spots have turned milky white and resist your vinegar treatment after two attempts, stop and book a professional service. Scrubbing harder with abrasive products at that stage will scratch the glass.
The Biggest Mistakes Homeowners Make
Most between-visit window cleaning failures come down to a small set of repeatable errors. Knowing what they are is the fastest way to stop making them.
Using paper towels. Paper towels and old cotton rags tend to leave lint behind. That lint often shows up as streaks once the glass dries. The fix is simple: switch to microfiber and never go back.
Cleaning in the wrong conditions. Full midday sun, freezing temperatures, and strong wind all work against you. Outside windows should be cleaned early in the morning or during cloudy weather on a spring or fall day. Cold weather cleaning requires extra steps, and if temperatures are near freezing, water will not dry properly.
Skipping the dry wipe. Applying solution and walking away is a guaranteed streak factory. Every cleaning session needs a final dry buff with a clean cloth, no exceptions.
Cleaning the glass but ignoring the frames. Dirty frames drip grime back onto clean glass every time it rains. A window cleaning routine that skips the sill and frame is only doing half the job.
Using too much cleaning solution. More product does not mean cleaner glass. Excess solution leaves a residue film that attracts dust faster and takes more effort to remove completely. A light, even application is always more effective.
DIY Cleaning Solutions Compared
The cleaning solution you choose has a direct impact on how long your windows stay streak-free. Here is how the three most common between-visit options stack up against each other.
| Solution | Best For | Watch Out For |
|---|---|---|
| White vinegar and water (1:10 ratio) | General maintenance, mineral deposits, light hard water spots. Evaporates cleanly with minimal residue. | Do not use undiluted on rubber seals or window tint. Rinse thoroughly to avoid long-term seal degradation. |
| Dish soap and water (1-2 drops per litre) | Greasy interior windows, kitchen windows, frames with built-up grime. Cuts through oily residue effectively. | Too much soap leaves a soapy film that streaks badly. Use one or two drops maximum. Rinse well. |
| Commercial glass cleaner spray | Quick touch-ups on interior glass, fingerprints, and smudges. Fast and convenient for spot cleaning. | Many formulas contain ammonia, which can damage window tinting and rubber seals over repeated use. Not ideal for exterior use or hard water spots. |
A vinegar-based solution, mixing one part white vinegar with ten parts water, is one of the most effective streak-free cleaners available. The vinegar’s acidity cuts through mineral deposits and soap residue while evaporating cleanly. Add a drop of dish soap for extra cleaning power on heavily soiled windows.
When to Stop DIY and Call a Professional
Between-visit maintenance is valuable, but it has a ceiling. There are specific situations where pushing further with DIY methods causes damage that costs more to fix than a professional visit would have cost in the first place.
Second-storey windows and anything higher. Ladders on exterior walls introduce real fall risk, and the cleaning angles are awkward enough that results are usually poor anyway. This is not the place to save money.
Hard water deposits that have turned milky white and resisted two vinegar treatments. At that stage, professional window cleaners use specialized equipment and products to safely remove mineral deposits without damaging the glass. Continuing to scrub at home risks permanent scratching.
Post-construction or post-renovation windows covered in paint overspray, stucco residue, or silicone caulk. These require specialized scraping tools and technique that should not be attempted without training on the specific glass type.
Any time you notice window seals failing, condensation forming between double-pane glass, or frames showing signs of rot or deterioration. Cleaning will not fix a structural or seal issue, and applying water pressure around failing seals can accelerate moisture damage.
For homeowners in the areas served by Performance Window Cleaning, professional visits twice a year give you a clean baseline to maintain. The team handles the deep work, the high windows, the stubborn staining, and the full exterior including gutters and siding, so your between-visit routine stays light and manageable. Their professional window cleaning service is specifically designed to restore glass to a condition that makes your own upkeep genuinely easy.
If gutter overflow is washing debris onto your windows after every rain, that is a gutter problem masquerading as a window problem. Addressing the eavestrough and gutter cleaning upstream removes the source of the contamination rather than just treating the symptom on the glass. Similarly, if spider webs and insect residue are a recurring issue, the company’s spider spraying service can break that cycle at the source.
Frequently Asked Questions
How often should I clean my windows between professional visits?
A light weekly check and monthly full clean is the right rhythm for most homes. The weekly pass focuses on dust, cobwebs, and any fresh bird droppings or smudges. The monthly session covers the full window unit including frames, sills, and screens. This keeps dirt from building up to the point where your next professional visit requires significantly more time and effort to restore the glass.
What is the best homemade solution to keep windows clean without streaks?
A diluted white vinegar solution works exceptionally well for most between-visit cleaning. Mix one part white vinegar with ten parts water in a spray bottle. For windows with greasy buildup, add one or two drops of dish soap. Apply with a microfiber cloth, work from top to bottom, and finish with a dry buffing pass using a second clean microfiber cloth. Skip the paper towels entirely.
Why do my windows streak even after I clean them?
The three most common causes are cleaning in direct sunlight (the solution dries before you wipe it), using paper towels or worn cloths that leave lint, and skipping the final dry buff. Cleaning in full sun is the most frequently overlooked culprit. Switch to a cloudy day or early morning, use fresh microfiber, and always finish with a dry wipe. If streaks persist, the squeegee blade may be worn and due for replacement.
Can I remove hard water spots myself, or do I need a professional?
Light, recent hard water spots respond well to a 50/50 white vinegar and water solution applied with a sponge, left for five to ten minutes, and rinsed clean. If spots have become etched into the glass surface and appear milky white or cloudy regardless of cleaning, that is mineral etching rather than surface contamination. At that stage, home treatment risks scratching the glass, and a professional with the right restoration products is the right call.
Is it worth cleaning exterior windows myself between professional visits?
For ground-floor exterior windows, yes, with the right tools and technique. A squeegee, microfiber, and diluted vinegar solution applied on a cool, overcast morning produces a genuinely good result. For anything above ground floor, the combination of ladder risk and poor cleaning angles makes DIY exterior work both dangerous and ineffective. Those windows are best left to professionals with the right equipment and access.
How do I prevent windows from getting dirty so quickly?
The fastest way to slow resoiling is to address the sources rather than just the glass. Redirect irrigation sprinklers away from windows to prevent hard water buildup. Keep gutters clear so overflow does not wash debris down the exterior. Clear spider webs from window corners during your weekly check because webs collect airborne grime quickly. On the interior, running an exhaust fan while cooking reduces the greasy film that migrates from kitchens to nearby windows.
What time of year is best for a professional window cleaning in Canada?
Spring and fall are the two most practical windows for professional exterior cleaning in Canadian climates. A spring visit removes the winter grime, salt residue, and pollen buildup before summer. A fall visit prepares the glass and frames before freezing temperatures arrive and makes it easier to spot any seal or frame issues before winter moisture worsens them. Most homeowners in the Performance Window Cleaning service area find that two annual professional visits, spaced roughly six months apart, keep their maintenance routine light and effective year-round.
If you have a tip that has worked for your own windows between professional visits, share it in the comments below. We read every one.
We would love your feedback and any insights you would share with others. What perspective would you add?
References
- Window maintenance tips and tools for keeping glass clean between professional service visits
- Seven professional techniques for achieving streak-free window cleaning results
- How to remove and prevent hard water spots from residential window glass
- Professional methods for handling hard water stains on home windows
- Common window cleaning mistakes homeowners should avoid for lasting results